Coke Bottle Greenhouse
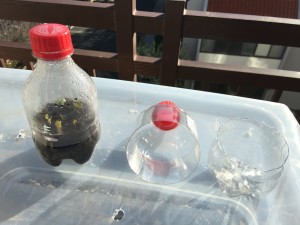
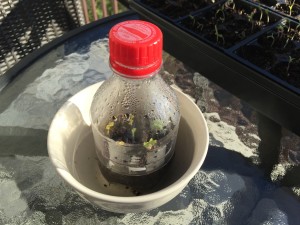
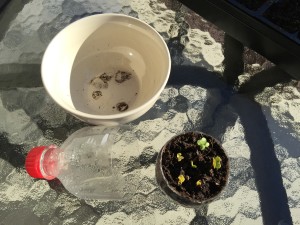
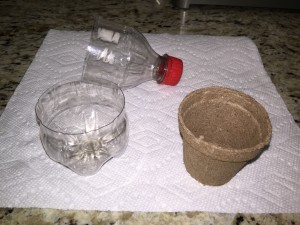
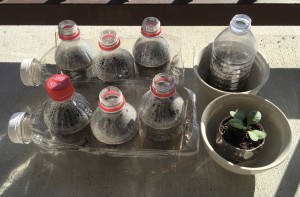
A simple and inexpensive way to start a seedling or two is to use a small coke bottle to make a miniature greenhouse. This can be done with other plastic containers as well. We picked this bottle type because it narrows in the middle. The middle can then be cut away and the top portion of the bottle will fit over the bottom portion, creating a removable “greenhouse” lid. It is important that the seedling can be easily removed once mature enough for transplanting outside. Using jiffy pellets, a small peat pot or containing the potting mix in a newspaper shell are obvious options.
Once the seeds are planted in the potting soil, it will take a few days for them to germinate. We usually plant a few more seeds than required to make sure we have successful germination. Once the seeds germinate they can be thinned to meet your requirements.
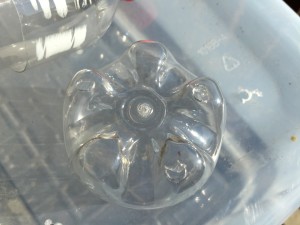
It is important to cut small drainage holes in the bottom of the bottle. This allows excess water to be removed and air to become available to the roots.
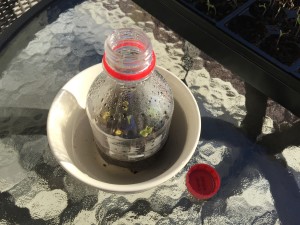
For ventilation, a small hole in the bottle cap will help or the entire top half of the lid can be removed or the bottle cap, . Ventilation is required as the temperature and the amount of sunlight increases. If too much heat develops in the bottle, it can kill or injure the seedlings.
Moisture needs to be added as required for germination and continued growth. After germination it is a good practice to let the potting soil dry a little between waterings, but you never want the seedling to be dry enough to wilt.
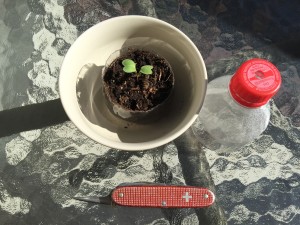
The hole added to the top of the bottle cap and also the drainage holes can be made with several tool choices. We used the reamer/punch on a Swiss Army Knife. A drill bit could also be used.
Post Update 2/24/16
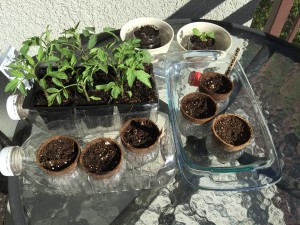
We decided to try 2″ Jiffy® pots to see if they would fit into the bottom of the small coke bottles. They fit perfectly and will make it easy to remove the mature transplant for planting. Since each Coke bottle bottom has drain holes, we needed an inexpensive container to hold the planter. We used a large fruit juice container (64 oz.?) We cut out the side and left the cap on. I worked great for holding 3 planters.
We also found that the juice bottle containers will fit well with some six pack seedling containers if you need to hold your seedlings for a few days before planting.
The Coke bottle tops are working well acting as a mini-treehouse, and for ventilation at the same time. They hold the humidity near the seedling and also let heat escape. We use the caps with the small hole when the weather turns cold for a few days.
Update 2/26/16
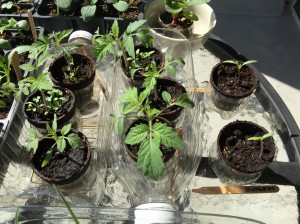
We really like the results we have achieved from the Coke Bottle mini greenhouses. Our transplants are almost ready to be transplanted into the garden. It appears they will be easy to transplant with very little damage to the seedling in the process. We have come to prefer this method of raising the transplants vs. other methods.
We did need to fertilize the seedlings several times. The amount of nutrients in the potting soil was not sufficient to supply the necessary fertility until the seedling was ready for transplanting. The seedlings do require a lot of daily maintenance, including watering, managing sunlight availably, daytime and nighttime temperatures and wind. The seedlings also need to be thinned, most often, to one plant per unit.
