When growing our pole beans this year we grew more than we were able to eat fresh and decided to freeze some extra beans for later. Freezing green beans is a relatively simple process that can be done with items you most likely already have in your kitchen. The steps for freezing include preparing the bean, blanching, cooling, and packaging the end product. Blanching is the process of heating the vegetable to stop enzyme activity from further ripening and/or deteriorating the quality of the beans while it is frozen for months or years. Blanching preserves flavor, color and texture.
What you need:
1) Beans
2) Large pot of boiling water
3) Large bowl of ice water or cold water
4) Packaging containers
The Processes:
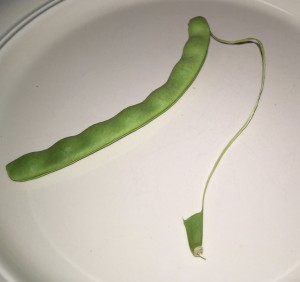
1) Remove the ends of the beans and the strings, if the beans are “string” beans. For stingless beans this part of the process can simply be done with a knife.
2) Cut or “Snap” the beans into bite size pieces.
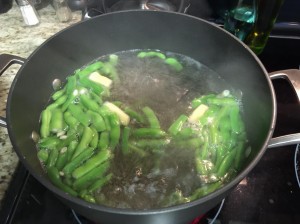
3) Blanch the beans for 3 minutes in boiling water. Add small batches of beans to large pot of boiling water (At least one gallon of water per pound of vegetable to be blanched). Start counting the 3 minutes after the water returns to vigorous boiling. The water should return to boiling after one minute.
4) After blanching immediately place the beans in an ice water bath.
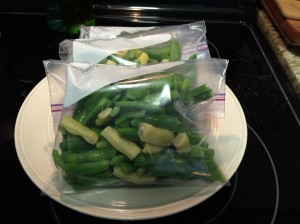
5) When the beans are cooled, drain and package the beans.
6) Label your containers with a date.
7) Place the bags separated from each other in the freezer. When they are frozen, you can place the packages closer together.
8) The frozen beans will keep for a long time, but are best used within 12 months for best quality.


